
Blog
We keep you up to date on the most recent real estate news and events.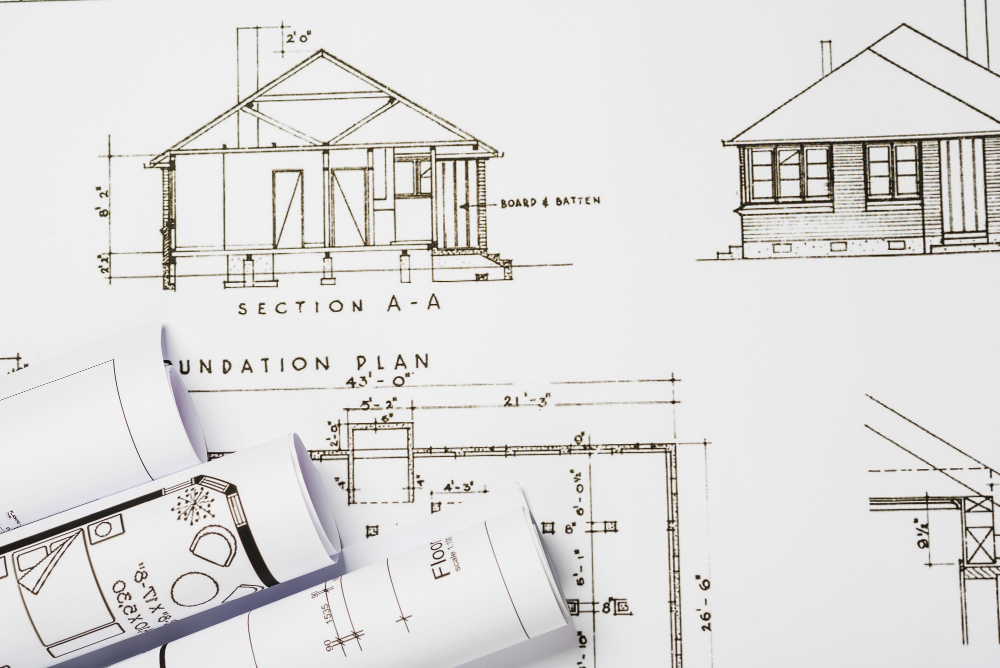
How to Brief an Architect for a Context-Sensitive Custom Home in a Plotted Development
Before the first line is drawn
Most plot buyers fall in love with a view, a slope, or a breeze on a Sunday site visit – and then discover, after construction, that the living room bakes at 4 p.m., bedrooms never catch a cross‑breeze, and the “valley view” is enjoyed mostly with curtains shut. As plotted development surges in edge markets and hill‑facing belts across India, the real differentiator is no longer just land size. Still, how intelligently the home responds to that land – and that starts with how you brief your architect. Think of this not as a design lecture, but as a practical, seven‑step playbook to turn your slope, views, wind and sun into allies instead of lifelong irritants.
Step 1: Read the land before the layout
Before talking about bedrooms and balconies, make the plot itself your first “project”. On a sloping or uneven site, walk the land three times a day – morning, noon, evening – and note where your feet naturally go uphill, where water seems to want to flow, and where you feel heat or glare the most.
Then, back your instincts with basic techniques. A topographical survey will show level differences, natural drainage lines, and existing trees, which is critical because steeper gradients often require stepped foundations and retaining walls under Indian hill‑area good-practice guidelines. If your plot has a noticeable slope or is near a cut or valley, ask for a soil or geotechnical report; structural and geotechnical assessments make it clear that soil type and bearing capacity play a critical role in long-term safety over decades of monsoon and seismic activity. Put all this into 4–6 bullets labelled “What the land is telling us” so your architect sees the site the way you see it.
Step 2: Guard your best views
In a context‑sensitive custom home, the view is not a bonus feature; it is part of the core “asset” you are building. Studies of lifestyle housing and second homes in Indian peripheries show that long, protected views to hills, forests or water bodies significantly support both buyer satisfaction and long‑term value, especially when those landscape elements are unlikely to be replicated nearby.
Walk the plot and circle two or three “money shot” directions: maybe it is a Shivalik ridge, a dam catchment, a green belt or even a distant city skyline. Also mark what you never want to see from your sofa – high compound walls, service lanes, noisy internal roads – which can later be hidden using trees, buffers or service blocks. In your brief, write a straightforward line such as “Living and master bedroom must face these view cones”, and then attach a rough sketch or marked‑up Google image so the architect is designing from the view outwards, not just from the boundary inwards.
If you follow Vastu, this is the moment to express preferences like keeping puja and key openings towards north or east, so the architect can balance sacred orientation with logical view framing instead of being forced into awkward compromises later.
Step 3: Let the breeze do the work
In most Indian cities, the difference between a room that feels bearable in May and one that feels like a furnace is often just cross‑ventilation. Passive design studies for Indian homes suggest that well‑planned natural ventilation can reduce perceived indoor temperature by several degrees and cut reliance on mechanical cooling during shoulder seasons.
Start simple: ask neighbours or locals which side the wind usually comes from in the evening, in summer, and during the monsoon. Combine that with basic climate information for your city – the India Meteorological Department publishes long‑term wind patterns that show prevailing directions for different seasons – and note down two main wind directions that matter most on your plot. In your one‑page brief, write 3–4 bullets under “Breeze and comfort”, such as “Evening breeze rises from the valley side” or “Strong monsoon winds from southwest; want protection here but cross‑ventilation elsewhere”. This gives your architect a clear cue to place openable windows, cutouts, and courtyards so the house breathes without becoming a wind tunnel.
Step 4: Use the sun, block the burn
The sun is your biggest free resource in an Indian home – and also your greatest risk of overheating if not handled correctly. Climate‑responsive guides note that in much of north and central India, orienting the longer side of a home toward the north–south axis helps reduce harsh low‑angle sun on the east and west walls, which in turn lowers glare and cooling loads.
Translate this into plain language for your architect, not jargon. For example, in your brief, you might say, “We want strong morning light in bedrooms and puja, but minimal afternoon glare in living and family spaces.” Indian solar and rooftop energy advisories note that south‑facing surfaces at roughly 10–20 degrees tilt capture good solar potential, so if you are considering future solar panels, mention that you are open to a terrace or roof form that supports this. On a sloping site, stepped floor plates and deeper balconies can let upper levels shade lower ones naturally, a trick many hill‑home architects use to combine view, shade and thermal comfort. Capture your intent as 4–5 bullets titled “Light and shade priorities” rather than long paragraphs.
Step 5: Build a one‑page architect's brief
Architects repeatedly say they do their best work when clients give them a clear, concise brief instead of a thick wish‑list with contradictions. Aim to create a single page (two at most) that your architect can grasp at a glance and then build on.
A simple structure that works well for Indian plot buyers looks like this:
- Who we are and how we live
5–6 bullets on family size, ages, work‑from‑home needs, elderly parents, frequent guests, and how weekends typically unfold.
- What the land is telling us
5–6 bullets summarising steps 1–4: slope direction, key views, main wind directions, and light/shade preferences.
- Non‑negotiables
Number of bedrooms, parking requirements, any mandatory Vastu conditions, and a realistic budget band because that shapes structural options, finishes and how aggressively the slope can be cut or retained.
- Good‑to‑haves and plans
Optional study, rental suite, home office, future additional floor, or a terrace garden – all of which influence how the architect stages services and structure now for easier expansion later.
The goal is not to pre‑design the house, but to give your architect a tight, honest starting point so the first concept already respects your land and your lifestyle.
Step 6: Tie it to your city and bylaws
Even the smartest design idea fails if it ignores local rules and approvals. Plotted developments under RERA generally come with approved layout plans, defined road widths, and setback norms, and state‑level guidelines explain how projects must be registered and updated, especially when multiple phases or revisions are involved. Including a short note in your brief on which authority governs your area – whether it is a development authority in a Tier‑2 city or a hill‑area planning body – shows your architect that you are serious about compliance and not just aesthetics.
Hill‑area and eco‑sensitive zones often have additional restrictions on cut‑and‑fill, height, and distance from water bodies, and construction guidance for India’s hilly terrain stresses that over‑excavation of slopes can increase both landslip risk and long‑term maintenance costs. In your brief, add a bullet list under “Regulatory frame” that mentions any known restrictions (height caps, buffer from a lake, forest edge notifications), and ask your architect to validate these and design within them rather than circling back later for major changes.
Step 7: Use your first meeting well
A context‑sensitive custom home really begins the day you and your architect stand on the plot together with that one‑page brief in hand. Start by walking the land side by side and physically pointing out everything you have captured – the slope direction, the prized views, the noisy corners, the way the wind felt on a recent evening.
Then, in the meeting that follows, treat your brief as a conversation starter, not a contract. Ask open questions such as, “If this were your plot, where would you place the main living level and why?” or “How would you use this slope so that older parents still move comfortably?” Good architects will respond with diagrams and stories rather than just floor plans: they might sketch how to lift living areas one level up for better views, tuck parking into the lower contour, or rotate courtyards to catch both morning light and cross‑breeze, all while staying within bylaws. When that happens, you will know the brief has done its job – it has turned a raw piece of land into a clear, shared design problem to be solved together, rather than a decision you will otherwise have to live with for decades.